Number 13 on HomeLight’s 2022, What upgrades increase home value? says, “Front porches have come back in vogue since the pandemic began, with rocking chairs or other cozy seating offering a safe way to visit with neighbors or have a quiet cup of coffee. A welcoming front porch can add an estimated $6,000 in resale value, HomeLight’s 2022 trends study found.”
Not that I plan on selling my house anytime soon, it is never a bad idea to try and increase the value of your home. Why not make it a place you will enjoy while you live there.
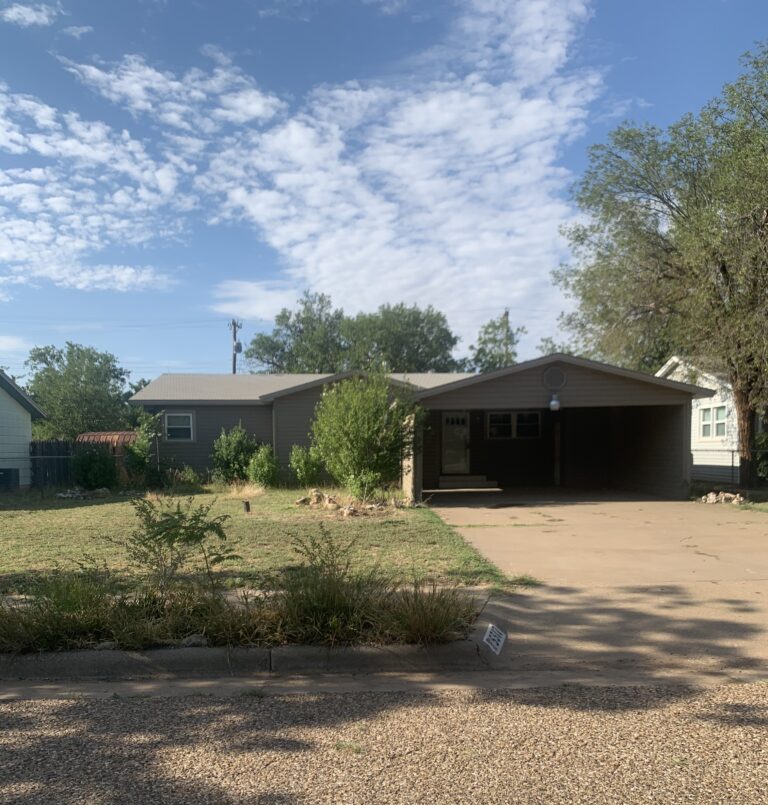
In my previous blog, We Finally Found a House, one of my hopes and dreams for the outside of the house was to paint the front door. It was just a plain, boring white door that was in need of a fun pop of color. So, what any normal person would do (or at least me) I hopped on to Pinterest and started to look at colors that would compliment the brownish siding that is on the house. I decided that I wanted it to be either a pink or coral color of some sort. You can see of my inspo on my pinterest board here!
**This post DOES NOT contain affiliate links** These are simply products that I used or considered and would recommend! I also do not own the rights to these photos.
Picking a paint color
The next step was to go down the street to the local Home Depot. I looked at many paint swatches BUT the moment I laid eyes on it, I knew it was the one! I ended up falling in love with the color, Watermelon Slice by Behr. By the name of the paint color, you would think it would be more of a red color, after all watermelons are red, but it is actually more of a coral color. It complimented the siding perfectly and I was sold!
Things didn’t go as planned
Painting the front door, sadly, got postponed because it ended up snowing. Who would of expected it to snow, in Texas, in October! On the bright side we found out that there was a very cold draft that came under the door as it was not sealing properly. Since it was an old wooden door we decided to replace it, which meant that I got to choose a new front door. YAY!
Picking the perfect door
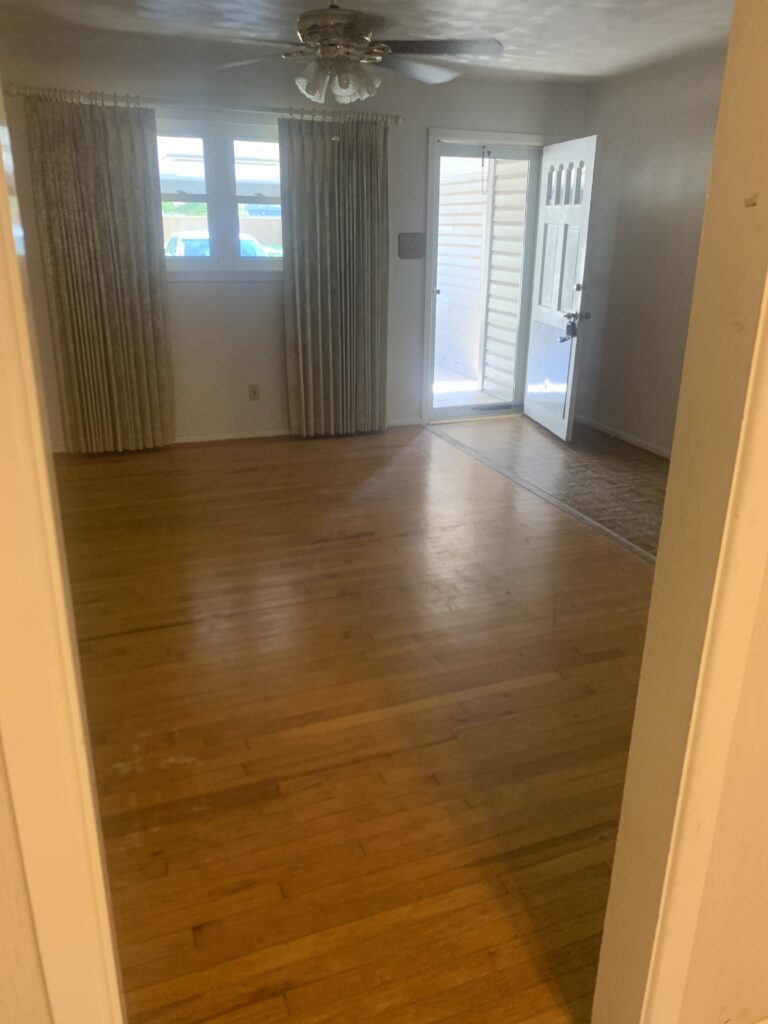
The first step to finding the perfect door was online searching of what I thought I would want. I wanted to keep it on the cheaper side so I knew I wanted a primed steel door. Since the room does not have many windows, I knew I wanted it to have a window to let in some natural light.
I ended up liking the style of this door that had a six pane divider over it that would both fit the style and the price range I wanted to stick to. It is the JELD-WEN 32 in. x 80 in. 6 Lite Craftsman Primed Steel Prehung Left-Hand Inswing Front Door w/Brickmould. We got it from Home Depot for right around $500. While we were there we grabbed some composite shims and a can of spray foam insulation to hopefully reduce the amount of times that we would have to go back.
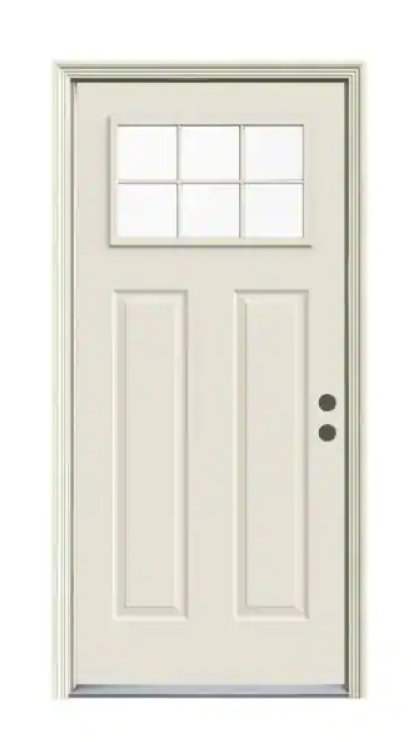
The chosen JELD-WEN door
Choices 2 & 3
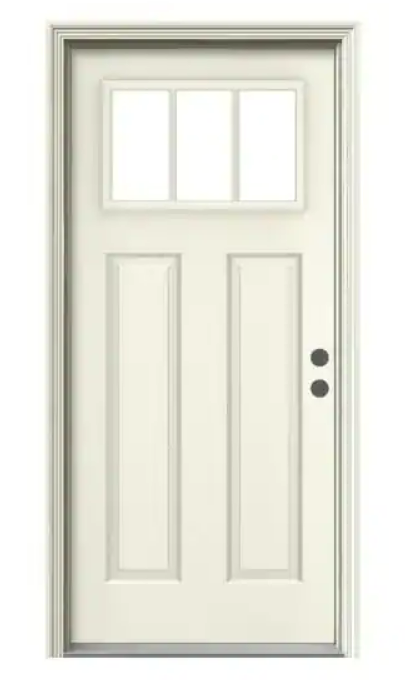
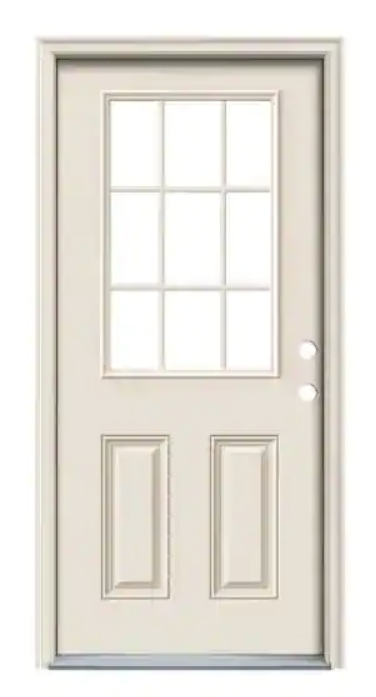
These are a few of the others options that I considered but passed up. The JELD-WEN 36 in. x 80 in. 3 Lite Craftsman Primed Steel Prehung Left-Hand Inswing Front Door w/Brickmould was a nice modern option with the horizontal pane option but it was a little more than I wanted to pay at $650 considering I found another door that I really liked.
The JELD-WEN 32 in. x 80 in. 9 Lite Primed Steel Prehung Left-Hand Inswing Back Door with Brickmould. I briefly considered this one but it was a little too casual as it was a back door and you could see in and did not offer the privacy that I wanted as the front door looks straight into the living room.
The process of installation
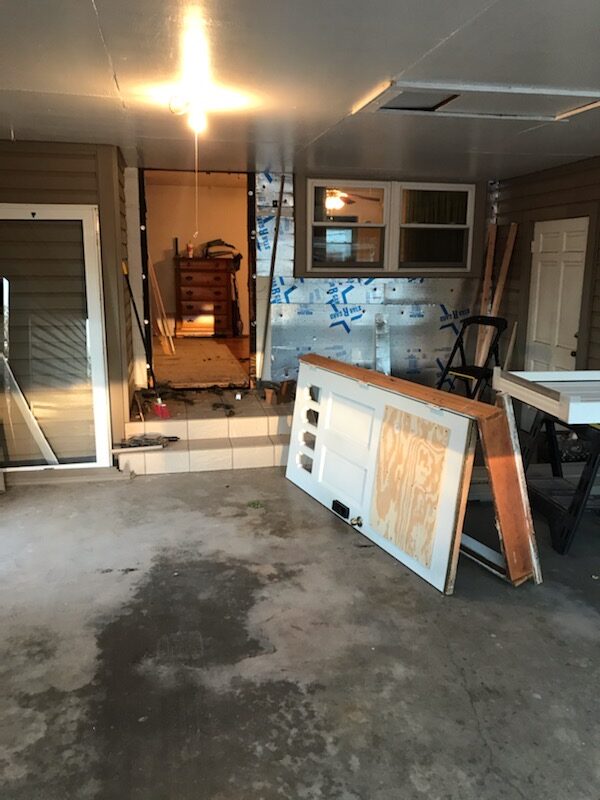
The installation of the door was much more than expected. The siding was installed over the door so in order for the door to be removed so did the siding. Luckily, we just had to remove the screws that were holding the siding in place and we were able to easily slide the siding off and access the door. It did make this a much larger task than anticipated which meant more TIME! You can see here we finally had the old door removed and we were making some final adjustments before we could install the new door.
The new door is in
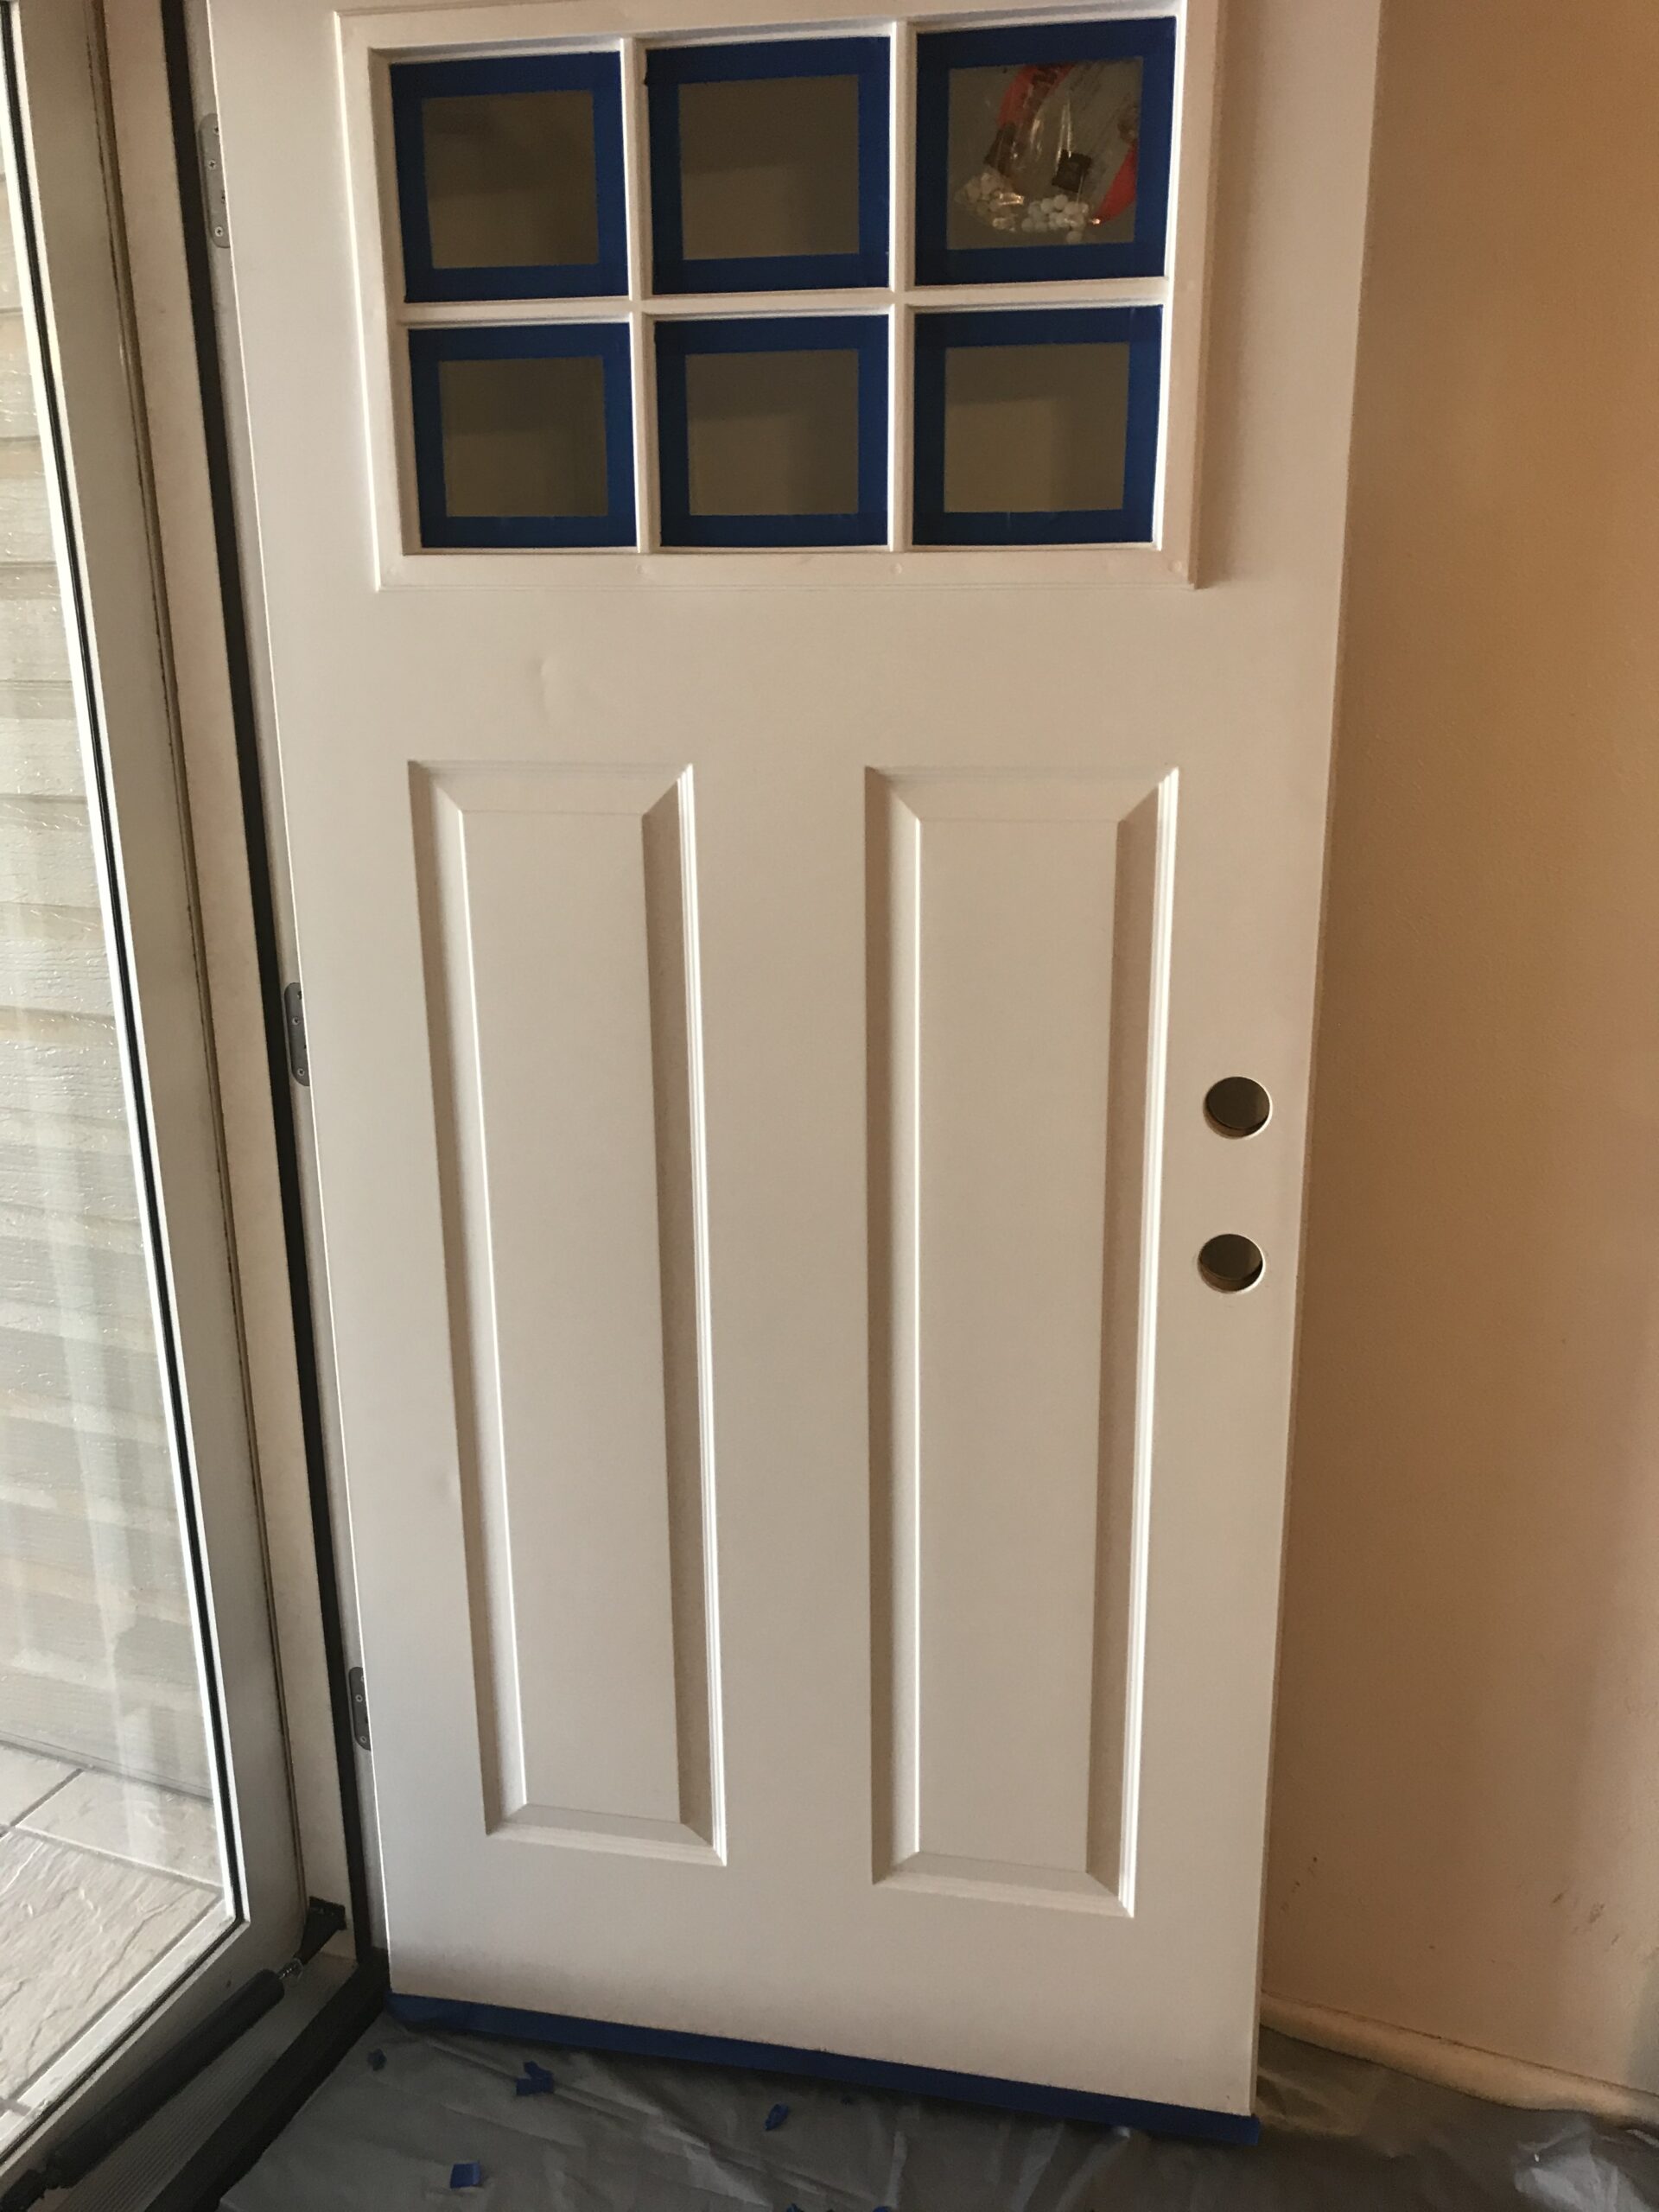
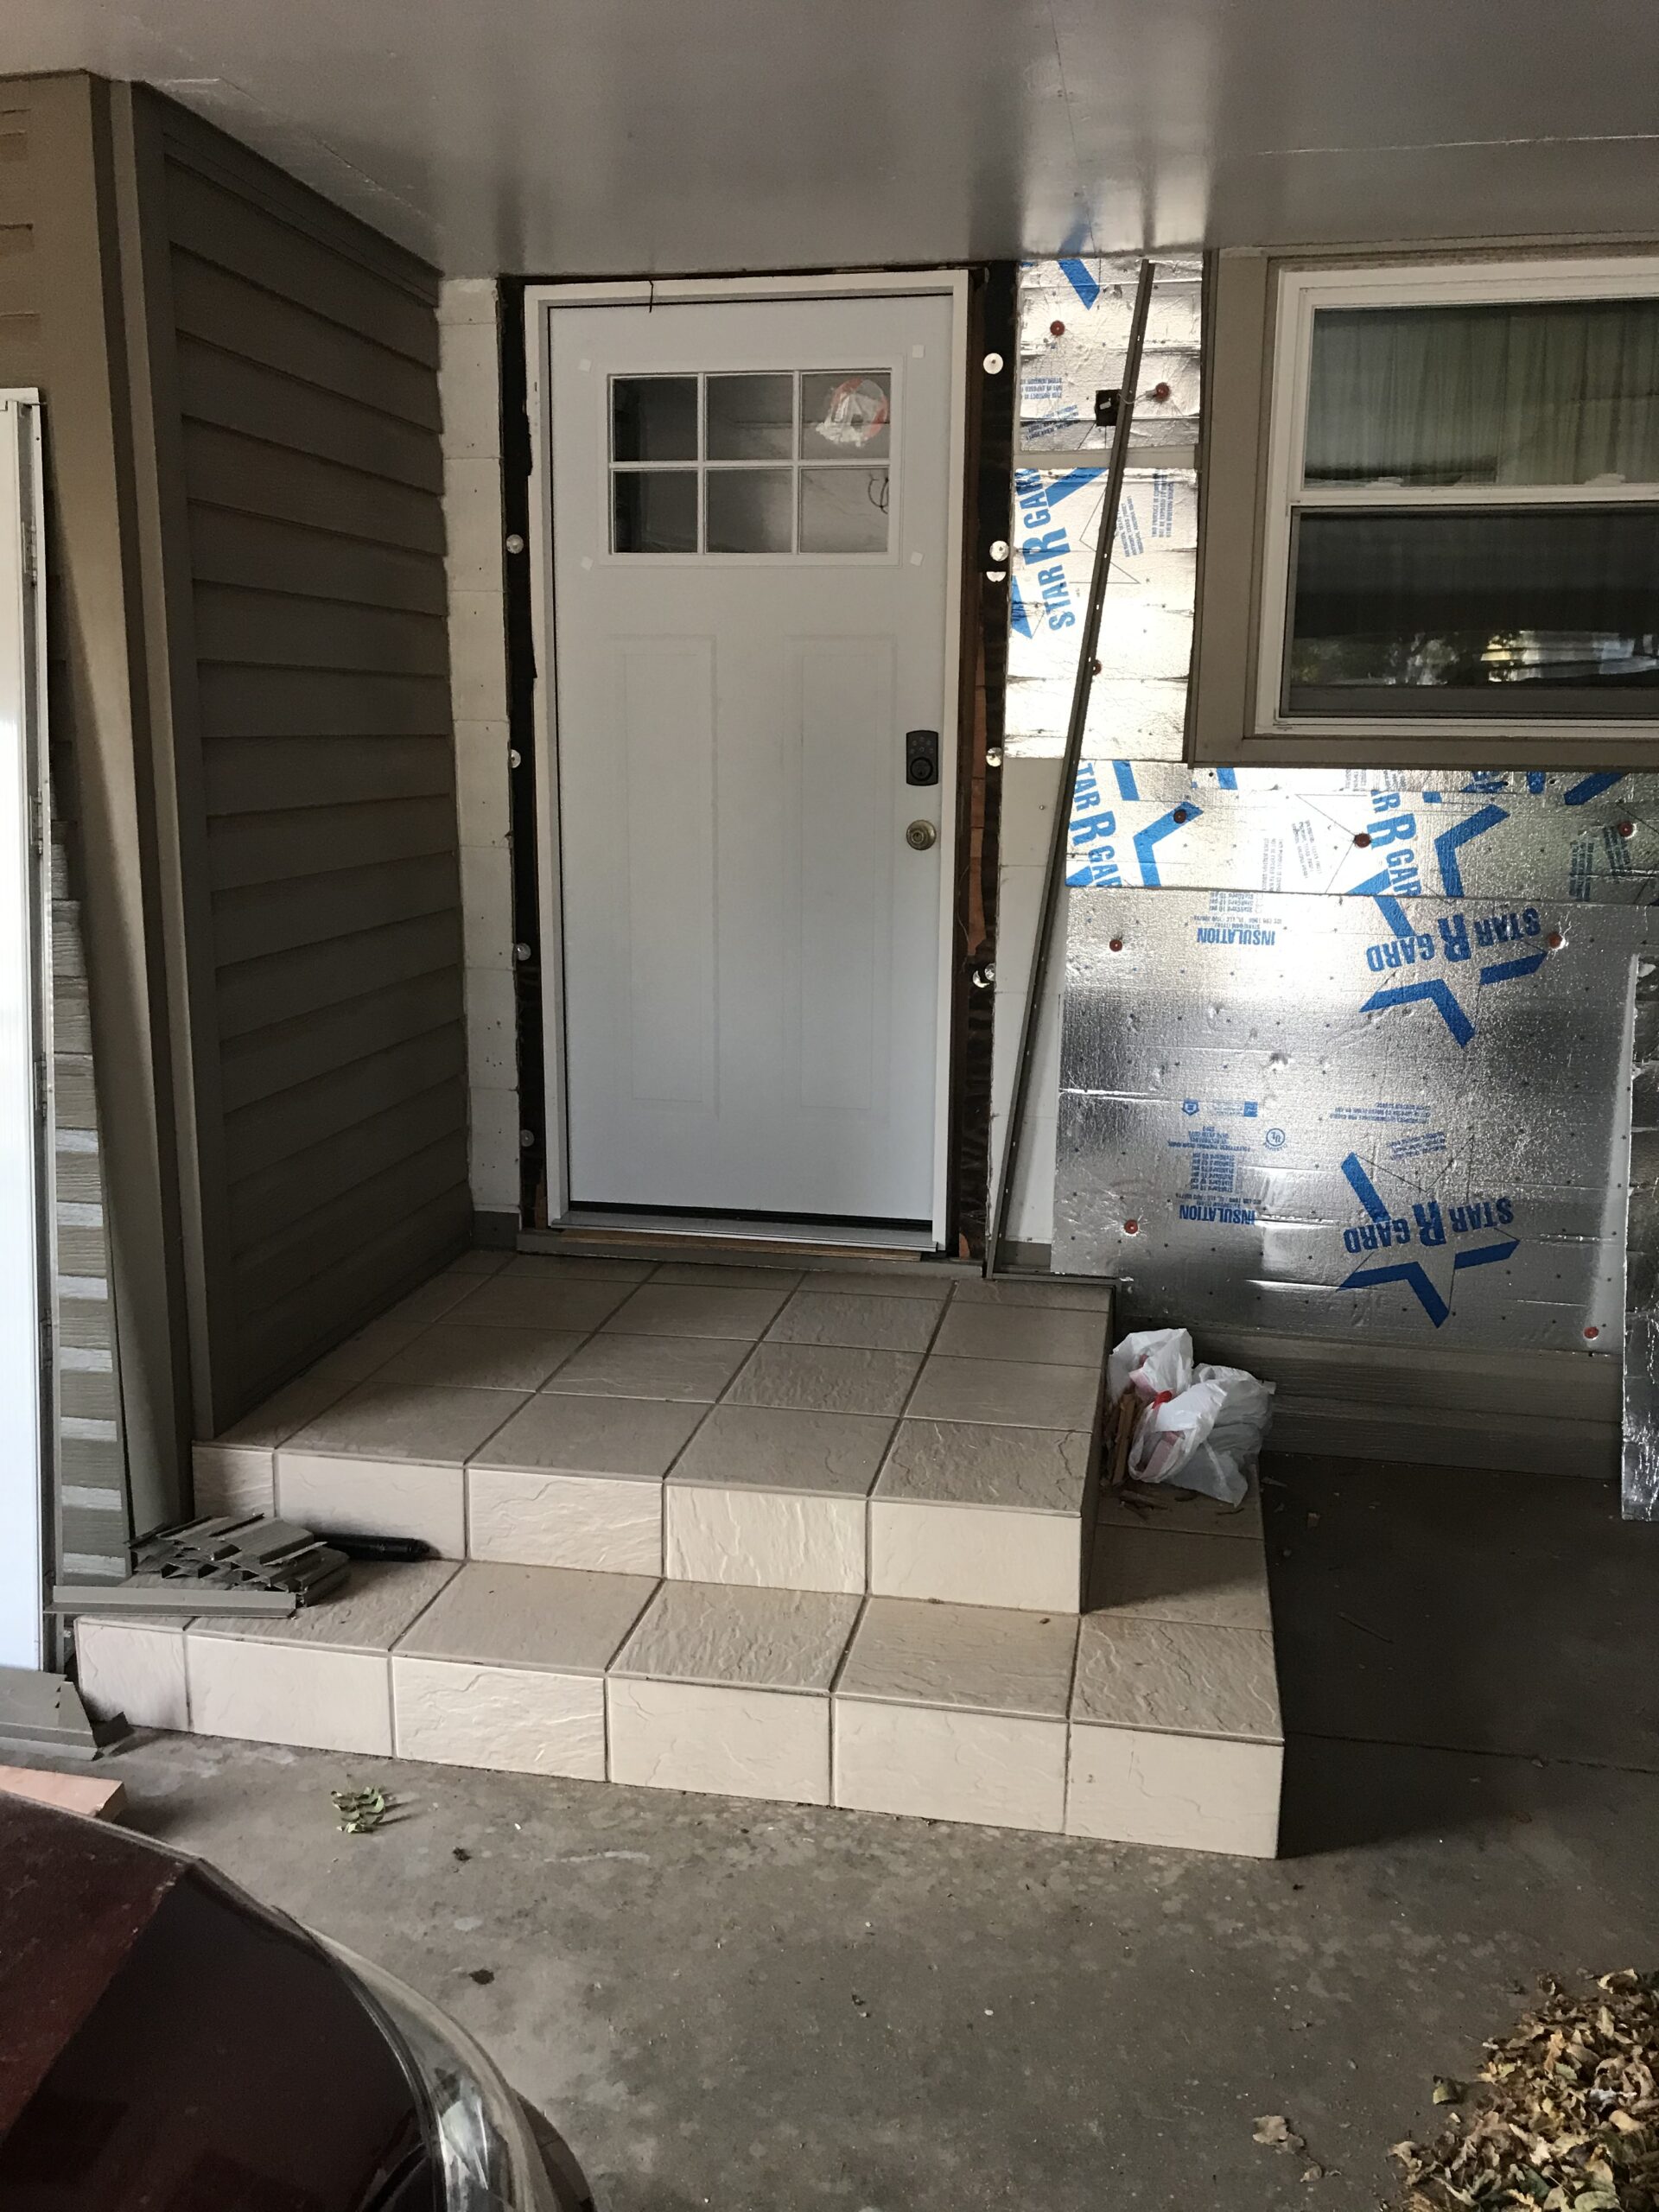
It was so exciting to finally have the new door installed. We used the shims and spray foam that we had grabbed to make sure that the door would not stick or squeak when used and it was airtight. The new door also just greets you with a newness as you approach the house!
The door after painting
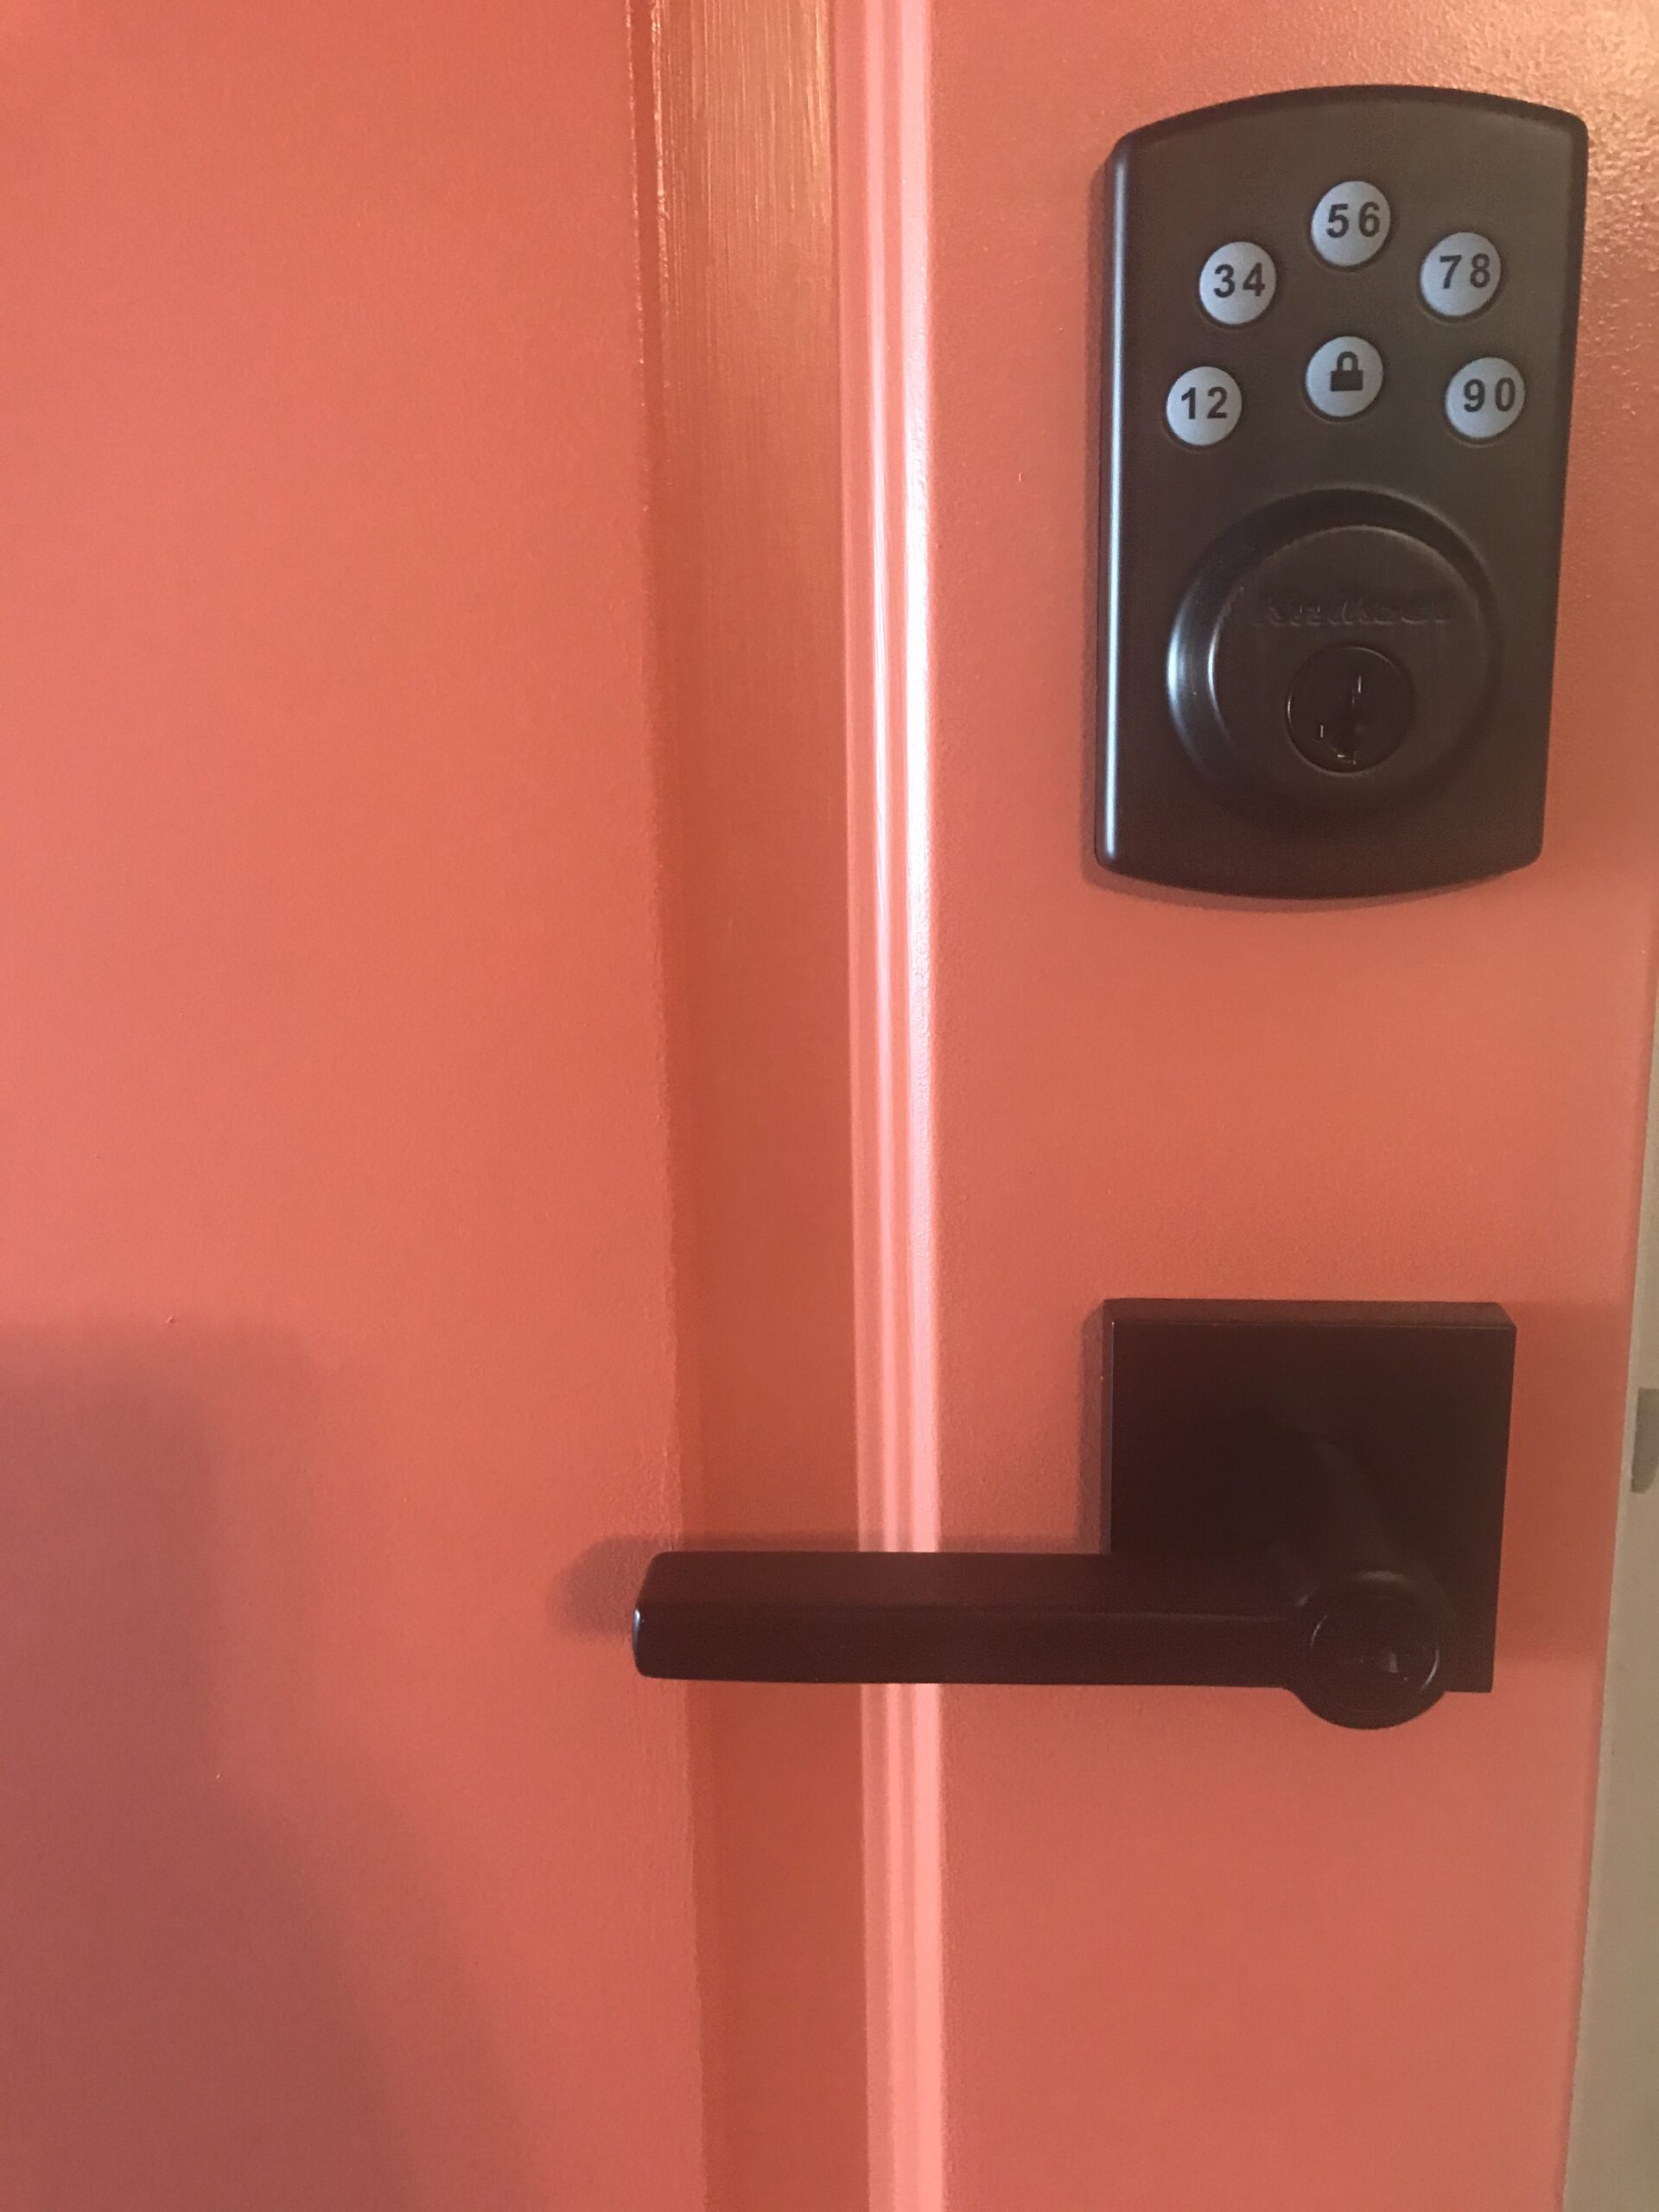
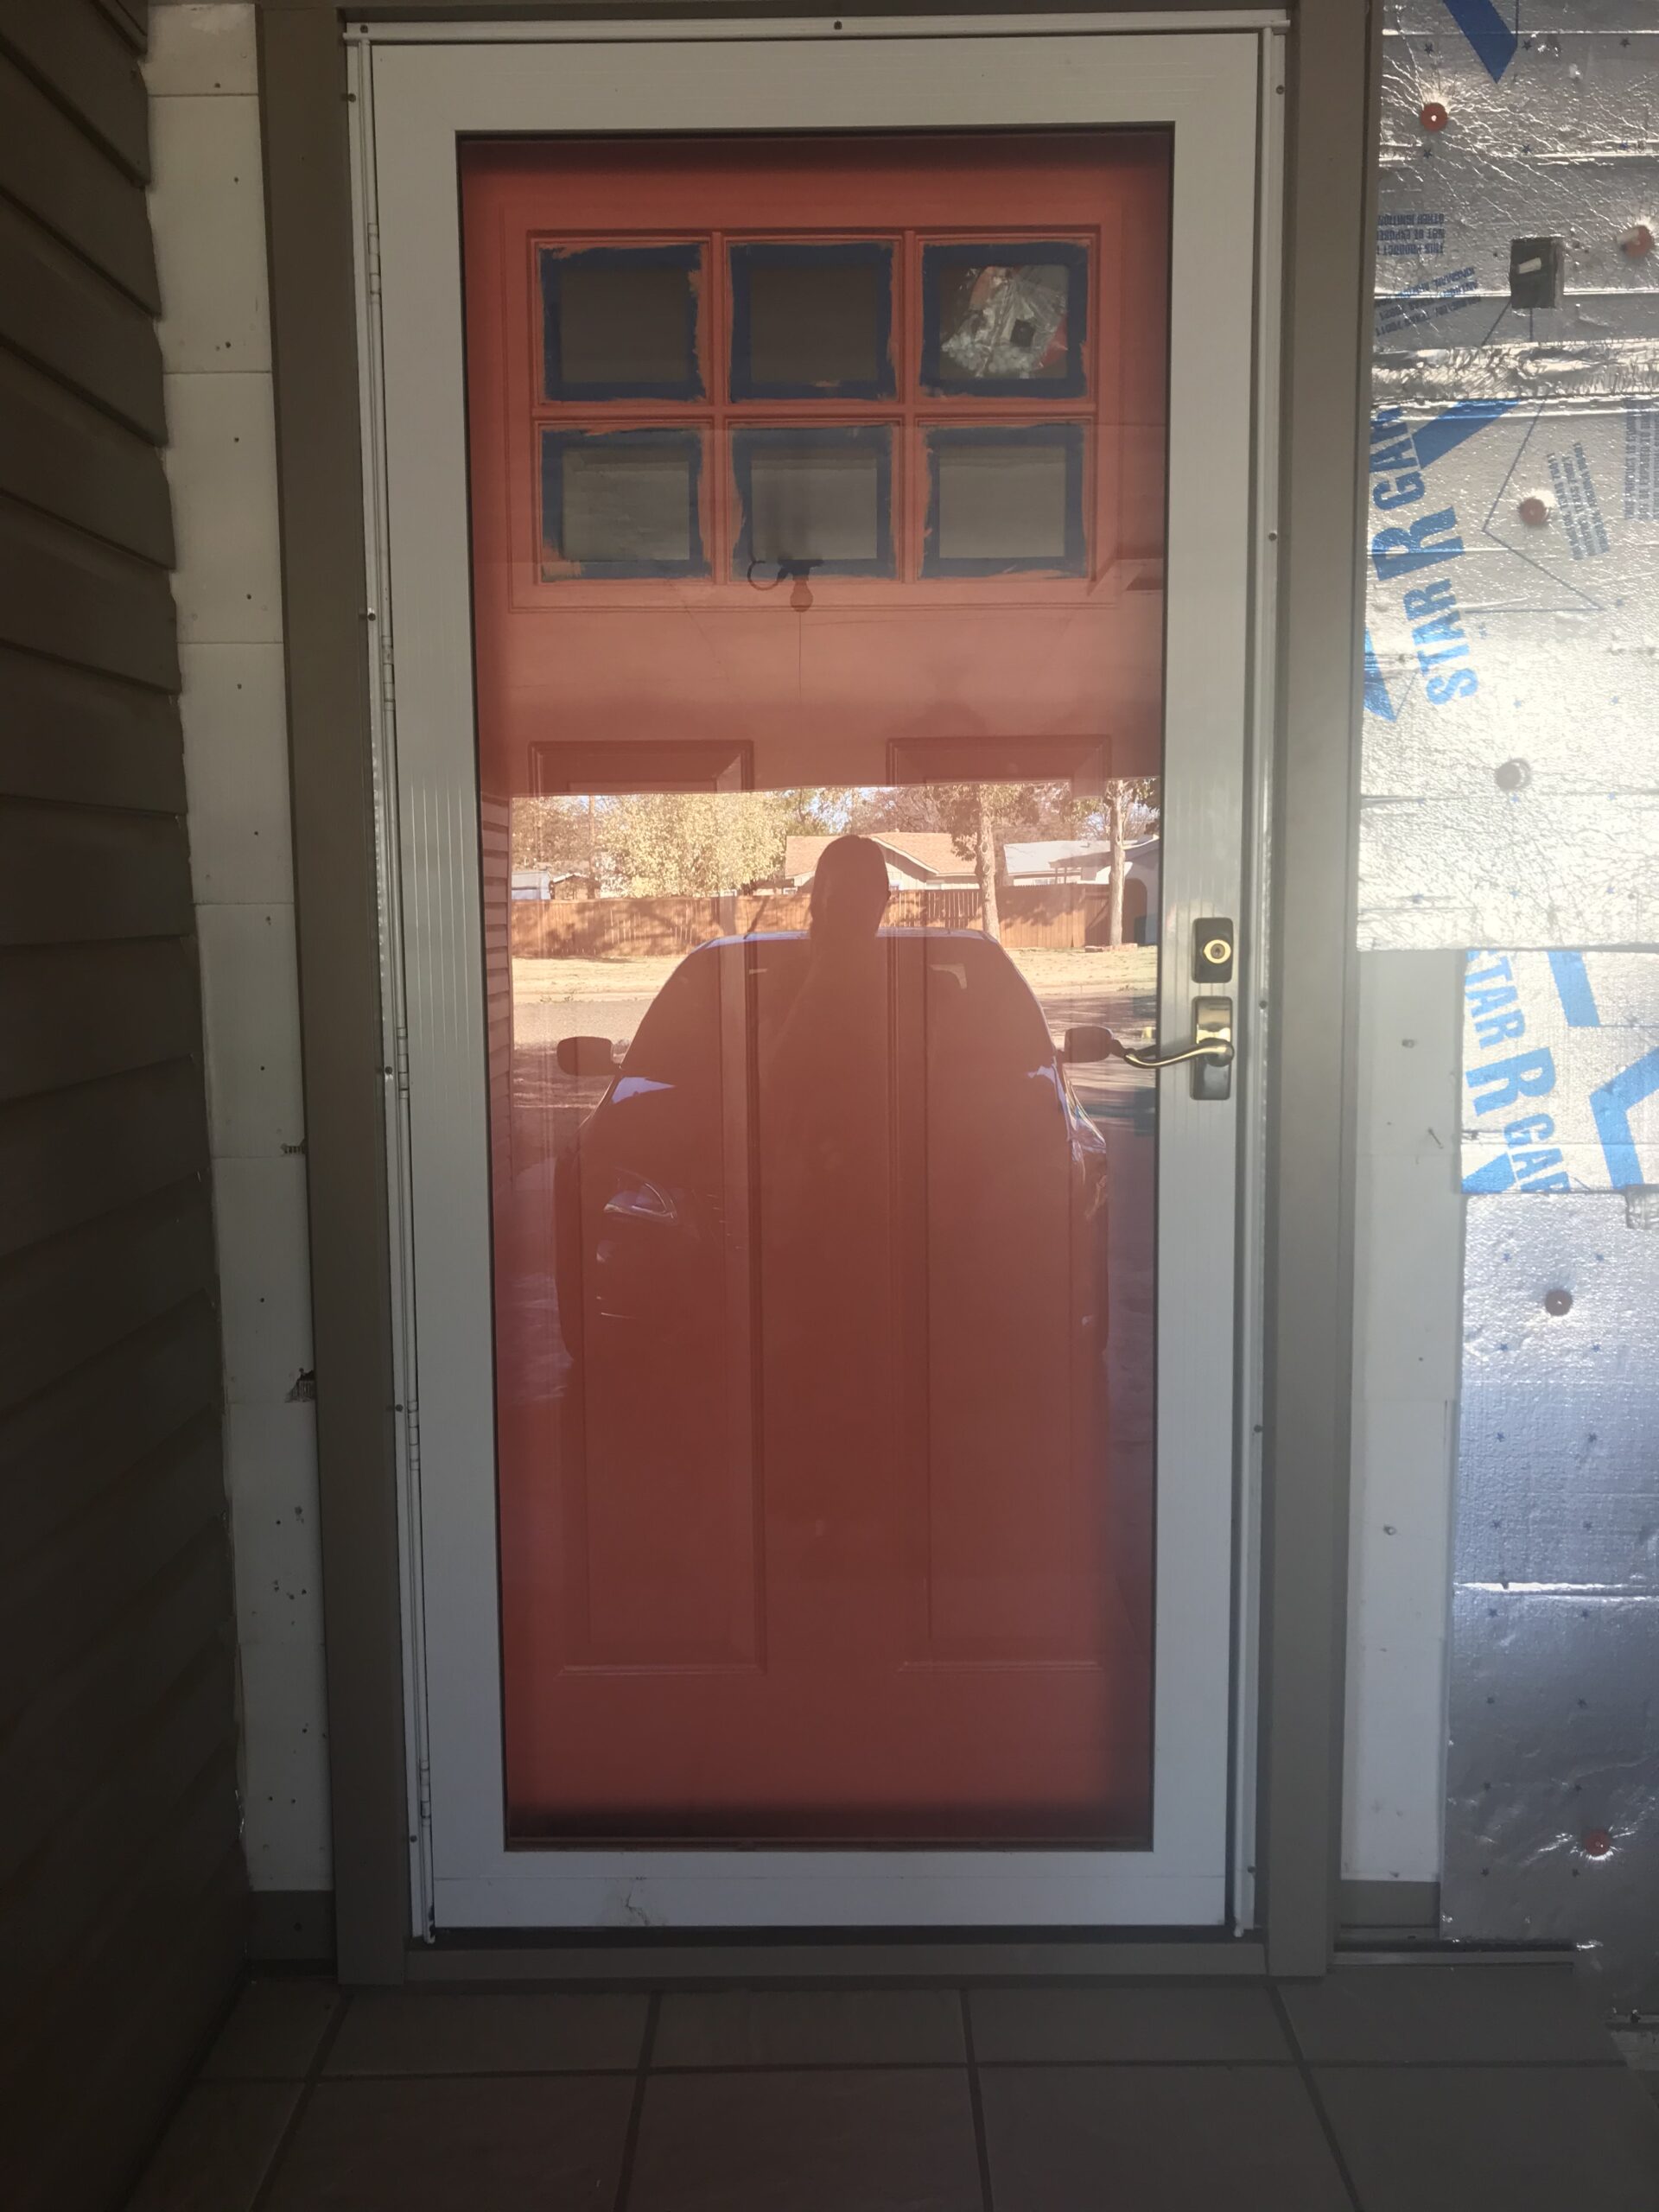
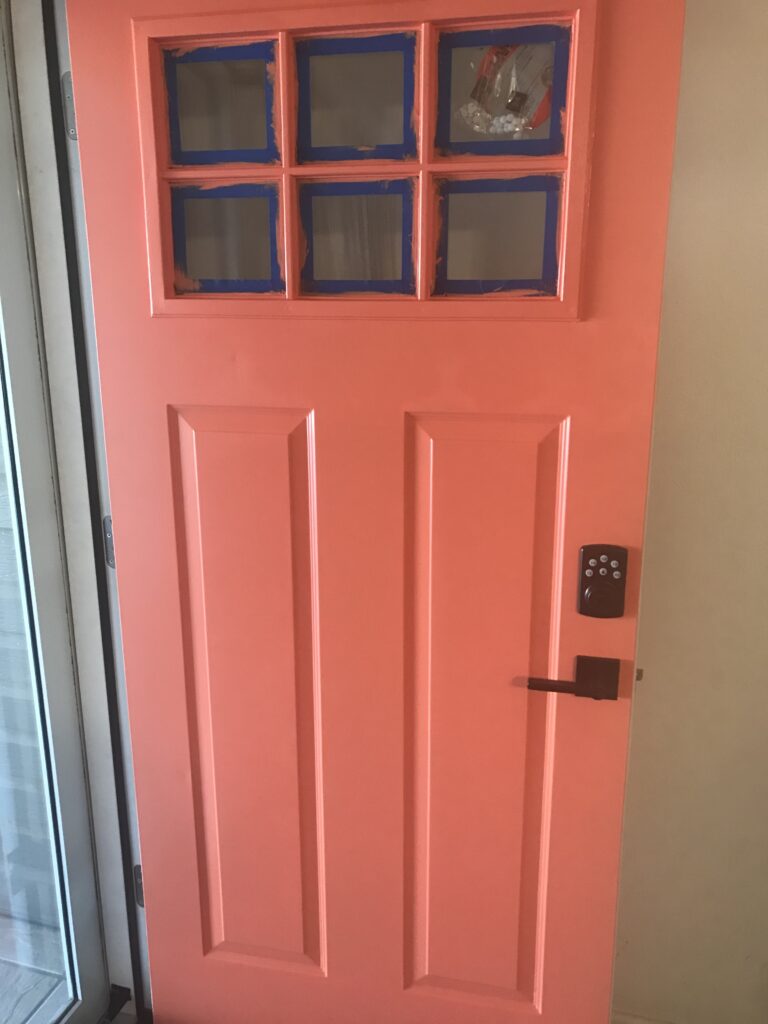
While painting the door we taped off the windows with painters tape just to ensure that no paint got on the glass. Before painting I lightly sanded the door with a 320 grit sandpaper to scuff it up and so the paint would stick better. To paint the crevices I used a soft bristled paint brush and a small roller for the bigger flat areas. I painted 2 coats on just to get a good finish. Here is the beautiful door after it was painted! Isn’t it just such a fun color! It is bright, cheerful and makes me happy every time I see it, which is quite often as I live here. Hahaha!
Products we used for this project
Paint color: Watermelon Slice by Behr
Front door: JELD-WEN 32 in. x 80 in. 6 Lite Craftsman Primed Steel Prehung Left-Hand Inswing Front Door w/Brickmould
Shims: composite shims
Spray foam: Loctite TITE FOAM
Door Knob: Kwikset Halifax Keyed entry door handle
I think all in all I spent about $750 on this project which I felt was pretty was pretty reasonable since I got a new front door out of it!
I am excited to continue to show you the process of making this house my home!
XOXO Maggie

